We won't be hand-holding you through absolutely everything, but instead just give tips on situations that we found tricky or that you might not have considered.
Chapter 4: The Final Stand
Mission 5: Of Gods and Daemons - The Battle for Talabheim
Overview
- The Reiksmarshal says he needs your troops, but doesn't actually take any.
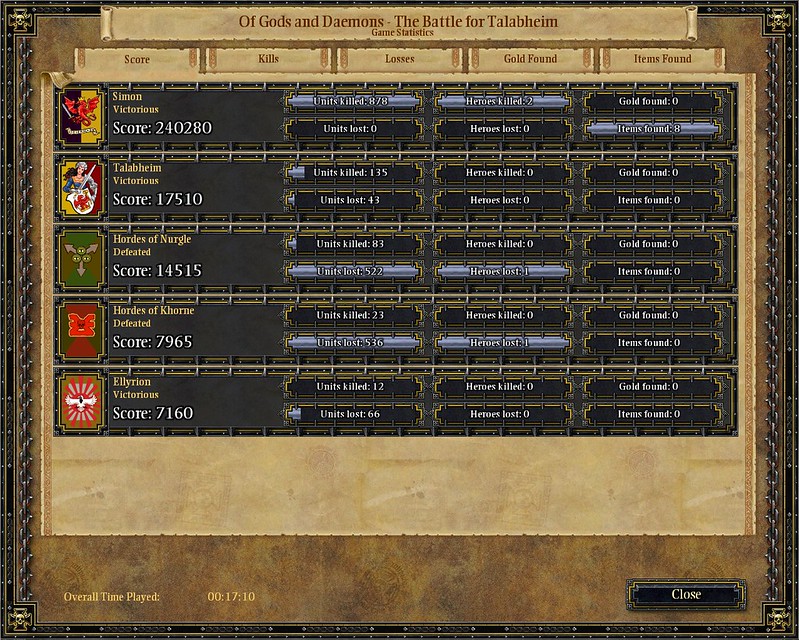
- You can win this with NO losses at all, not even losses to be resurrected. On Hard Difficulty. Using no potions or other one-use items.
- The city you have to protect has a wide front that breaks into two lanes before converging again. Between the enemy entry point and the convergence point are many allied troops you cannot control.
- The allied units are your buffer against anything that slips past,and they will eventually get mowed over if you just let them defend. Take the proactive approach and defeat the enemy on the field.
- It would be much nicer if we could just have the enemy coming from one direction, but that lets them bring in cannons and have a lot of troops and mess in between for you to get at them. We want to hit the enemy as they come in, especially their artillery.
Walkthrough
- For heroes, you must take Von Kessel and Aurelion. For the other two, take the Warrior Priest and the Light Priest.
- Initially they will be in one team but we will split them into (Aurelion + Warrior Priest) and (Von Kessel + Light Priest): That is, each side must have a healer and a tank. Since the Light Priest is the most fragile, we gave his team the strongest tank.
- For regiments, take ALL shooters. I went with 6 handgunner regiments and 4 elven archer regiments (on Fire Arrows). For artillery, 2 Empire Cannons (longest range) and 2 Hellblaster Volley Guns.
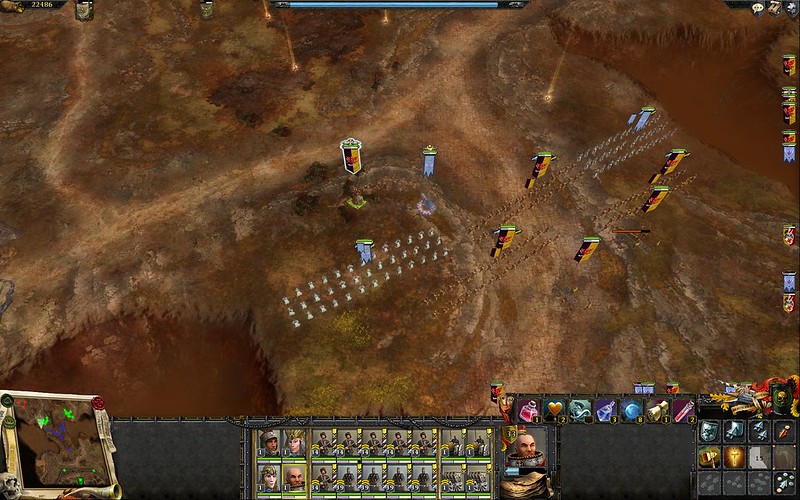
- Divide your forces into two equal defensive lines, one for each of the east and west lanes.
- Set your assault teams: Just group every unit in each team together in one hotkey, to be moved in formation together. Initially, set them to column formation for faster moving. Once they are ahead of the barricades, you can switch them into the usual long row and block off a lane.
- For heroes, put them together for now in one group. Remember that the Light Priest cannot have a mount, so you need to be extra careful when you start moving the team. If he falls behind too much, use his invisibility spell (Fading Twilight) and don't make him attack, just run after the others and catch up.
- Deploy them as close to the northwest as possible. When deployment ends, move them all up to where the passage branches off. While they are moving, set all Archers to use Fire Arrows.
- There is a HellCannon in the far northwest corner. Charge your heroes there (along the way, you may want to cast his healing circle (Restoration of Isha) on the allied regiment at the barricade that gets hit). Try to go around enemy regiments, but if you can't, fight till they flee and continue. Don't get bogged down. If necessary, use the Captain's Righteous Wrath to blast out and go for the cannon. The demons there will not fight you if you do not fight them.
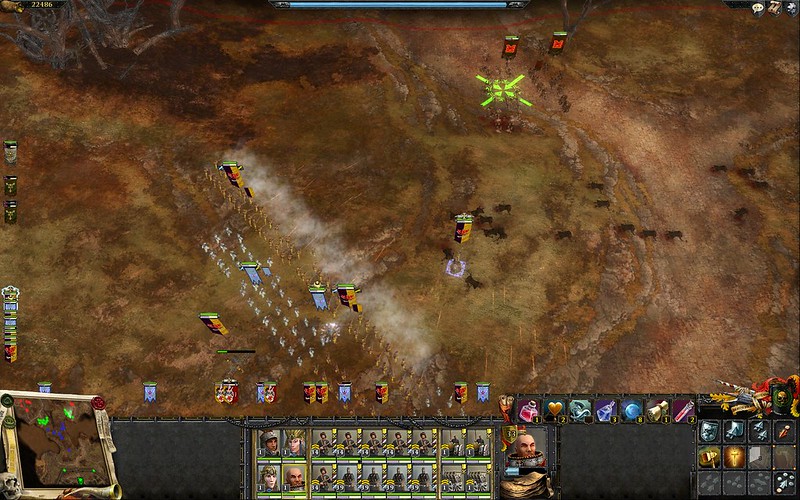
- As soon as the cannon is destroyed, you can probably leave the heroes on Hold Fire OFF and they will survive for a while. Switch over to one of your assault teams and move them up, destroying anything along the way if necessary. Set their formation to the typical wide battle front, and choke off the west lane, in front of all allied regiments and angled to cover both roads.
- Get your heroes back to this battle front, drawing all enemies with them. Your forces should be able to wipe them out quickly. Don't linger -- it is not necessary. From here on, the battle line is meant to hold its own without any significant management. Leave the Warrior Priest here, ahead of the line to draw all fire. He'll be fine if his armor is decent since he can heal himself. The other three heroes should head for the northeast corner where there is another cannon.
- At this battlefront, if you put the Warrior Priest too far ahead, enemy Axe Throwers will be able to attack him but not enough of your forces will be able to attack back. Just pull him back a bit so that they are forced to close into range of your own shooters. But no matter what, keep him in front. The northwest will suddenly see a huge push of enemy forces, but your troops should do fine.

Phase 3: Secure the Northeast Corner
- Same as before, but this time there are more enemies to get past. Fortunately, this area is smaller. When you deploy your own forces, they will probably be quite farther forward and closer to the map edge.
- Watch out that you are not so close that enemy reinforcements appear in the midst of your battle formation and immediately melee your regiments.
- You can be close enough to the start of the road there so that as soon as the enemy appears, they are under fire.
- After the cannon is clear and your forces are in place, put Von Kessel in front, the Light Mage BEHIND your lines, then send Aurelion back to help the Warrior Priest.

Phase 4: Furies
- All your forces are now so far ahead that when Furies fly in from the east, they will start wiping out allied forces. Eventually they will die, but you can send one regiment of handgunners down to help. Just set them to attack the Chaos Furies. They should be safe because the Furies will be busy attacking an allied regiment. Once the enemy blip is gone from your radar, move your handgunner regiment back.
- Huge battering ram, major push of enemy forces, and a Chaos Sorcerer sneaking in. Do NOT let your heroes get duelled because they need to be drawing fire from enemy regiments. Use Volley Fire from your handgunners as soon as the Sorcerer is in range. That should immediately blow off half or more of his health, and some attention from your heroes or just concentrated fire from your defence line should kill him off quickly.
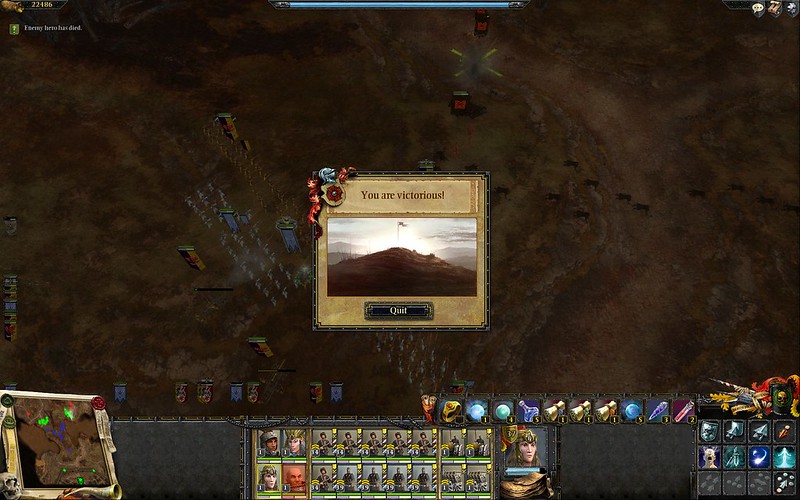
- Some time after the Battering Ram, the Demon Prince will appear in the Northeast. Alone. A three-regiment handgun volley followed by a few seconds of fire from your defence line will probably kill him. Shortly after that, even if there are enemies on the field, the mission will be won.


No comments:
Post a Comment